
Platform
Your class and its code
Making a class, handing out the invite code, and the two seat limits that decide how many students you may have.
A class is a named group of students, a code they type to join it, and a place to hang assignments. That is all it is. You can have as many as you like.
Making one
Naming a class and the code appearing with it. That code is the whole account model in one screen — it is what a student with no email address signs in with.
From My Classes, press New Class.
Give it a name
Something you will recognise in a list six months from now — “Grade 7A — Intro to Drones”, not “Class 1”. If you teach in Hebrew there is a second, optional field for a Hebrew name; the class then shows the right one to each person depending on the language they have chosen.
Copy the code
The moment the class exists it is given an invite code: eight capital letters and digits, like
SKYLARK7. There is a copy button next to it.That code is the whole joining mechanism. There is nothing to email, no list of addresses to upload, and no accounts for you to create.
Put the code where the class can see it
On the board. On a slide. On a sticky note on each machine. Students type it themselves during signup.
The code never disappears. If you lose it, open the class — it sits next to the student count at the top of the page, and it is on the class card on My Classes too.
How students join
Two routes, both using the same code.
Typing the code twice is harmless — the second time does nothing at all. And a student who is already in the class can never be locked out of their own place by a full class, because they are not asking for a new one.
When a class will not take any more students
Two separate limits apply, and the message tells you which one you hit.
“Teacher has reached their maximum number of students” — your own limit. It counts each distinct student once across all of your classes together, so a child in two of your classes takes one place, not two. The number was set when your application was approved; the platform default is 30 unless your administrator changed it. Ask an administrator to raise it.
“School has reached its maximum student capacity” — the whole school is full, including your colleagues’ classes. You cannot fix this by moving students between your own classes. An administrator has to raise the school’s seat count.
The five tabs of a class
Open a class from My Classes → Manage class.
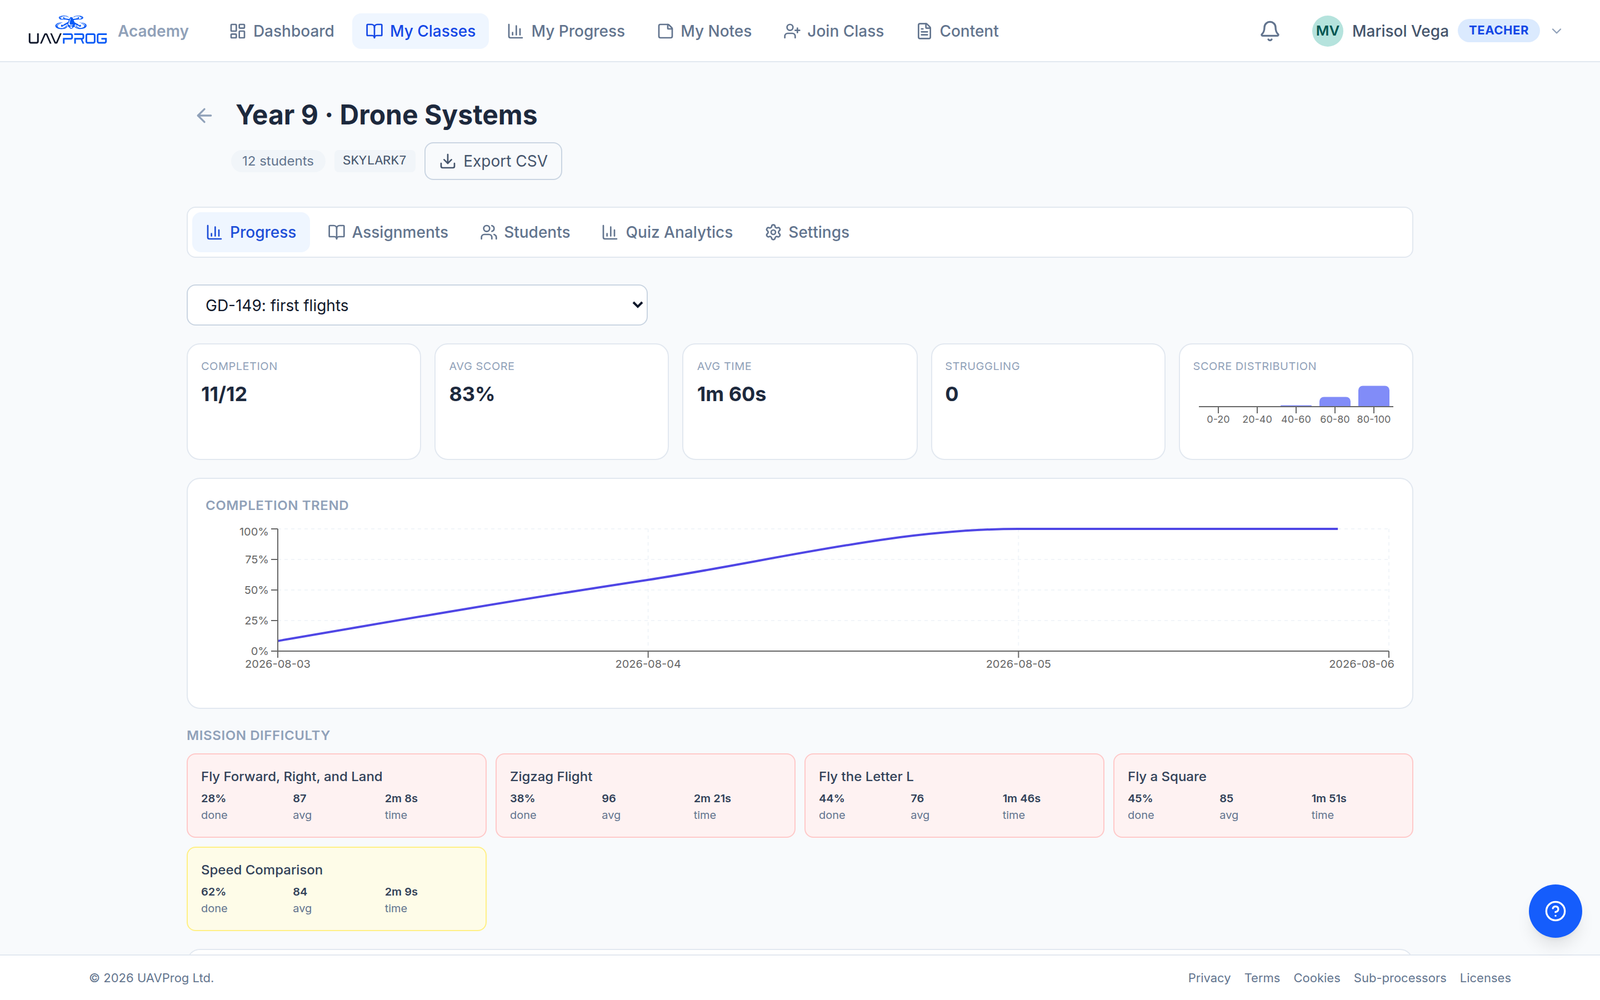
The class page, on the Progress tab. The invite code sits next to the student count at the top, and Export CSV is beside it.
Progress — the class against one assignment. Pick the assignment from the dropdown at the top; everything below re-reads. It refreshes itself every thirty seconds, so you can leave it open on a second screen during a lesson. Reading your dashboard explains the grid.
Assignments — what this class has been set, and where you set it. See Assigning work.
Students — the roster. Name, email (or a dash), the date they joined, and the two buttons: Reset password and Remove.
Quiz Analytics — question-by-question results for a lesson’s quiz. Empty until somebody answers one.
Settings — one switch today: Leaderboard, which decides whether students in this class can see a class leaderboard. It is on by default. There is nothing else in here; if you were looking for a way to rename or archive the class, the product does not offer one yet.
Removing a student
Class → Students → Remove on their row.
There is no confirmation dialog on this button. It removes on the first click.
Getting the marks out
Export CSV, at the top of the class page next to the invite code, downloads one row per attempt for every assignment in the class. The columns are:
| Column | What it holds |
|---|---|
| Student Name | Their name as they typed it |
| Blank for a class-code student | |
| Mission/Lesson | Which mission, or which lesson’s quiz |
| System Score | What the platform scored the flight, 0–100 |
| Teacher Score | Your override, if you gave one — otherwise blank |
| Status | completed, failed, in_progress, abandoned, reset |
| Late | “Yes” if it went in after the due date |
| Last Attempt | When they started it |
| Type | mission or quiz |
It opens in Excel, Numbers or Google Sheets. Note that both mission flights and lesson quizzes are in the same file, told apart by the last column.
Next
→ Assigning work — now that the class exists, give it something to do.