
Platform
Quick start
From an empty account to a class of students with a course assigned, in about ten minutes.
The shortest path from a new teacher account to students writing code. Ten minutes of your time, plus however long approval takes.
Each step links to the page that explains it properly, so use this as the checklist and go deeper when something surprises you.
Create your account
Choose the teacher path
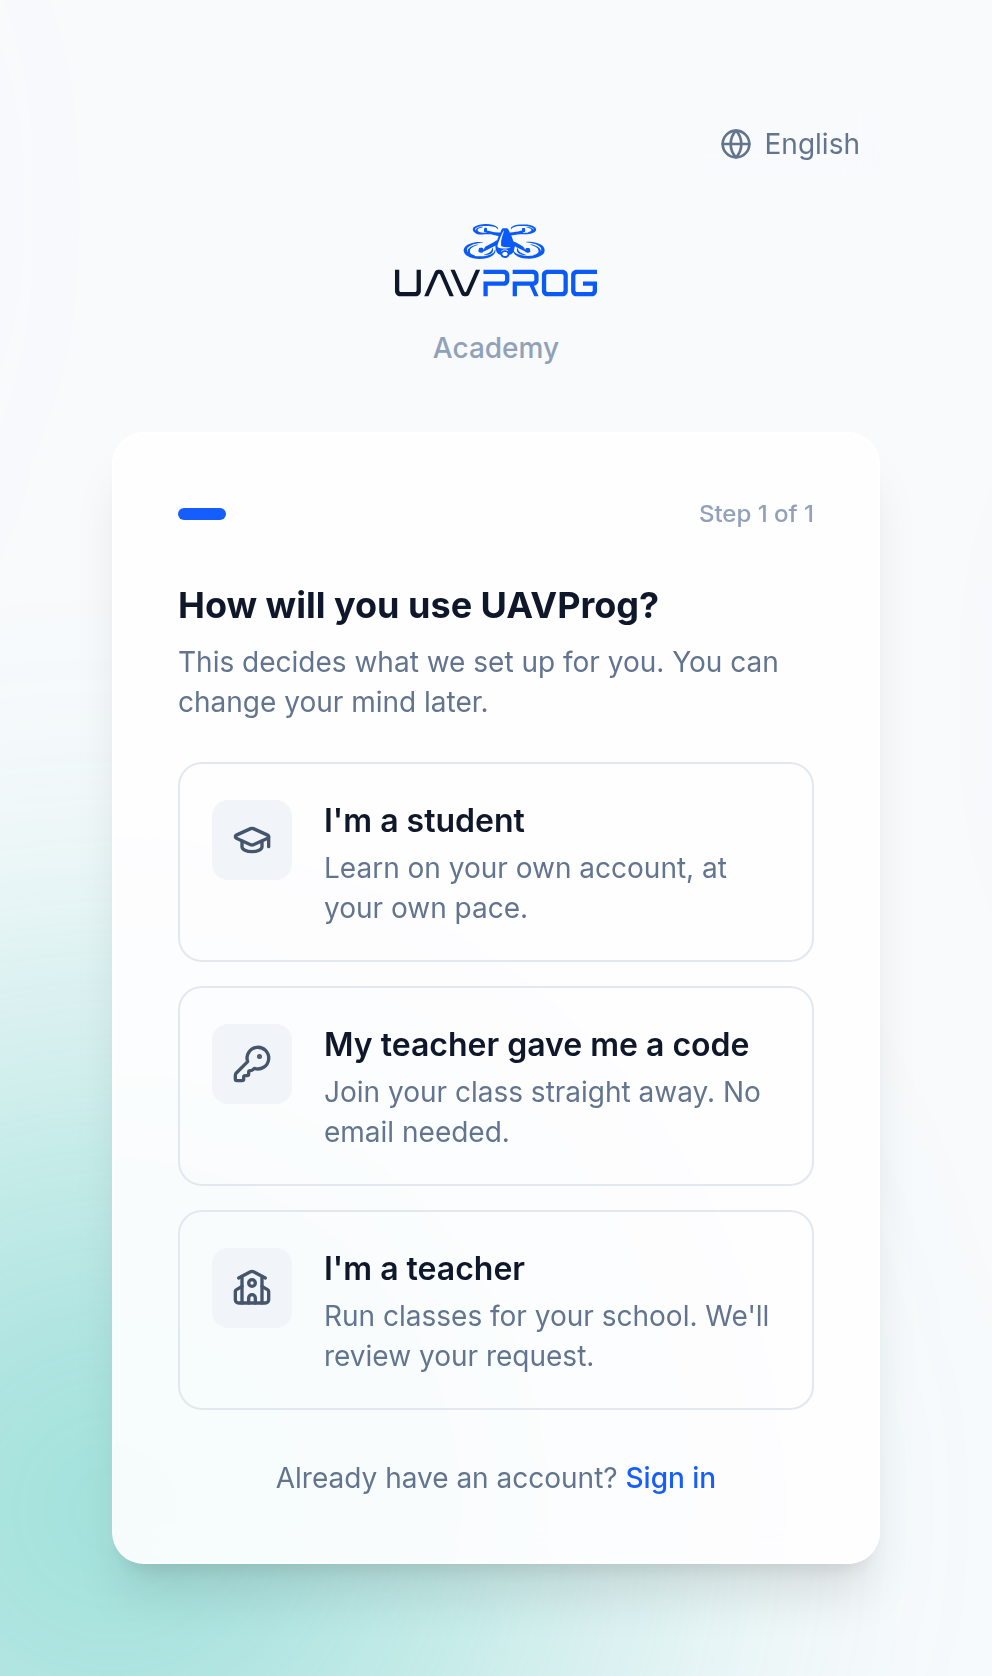
The first screen asks what kind of account you want. Pick I’m a teacher — it is the only path that can create classes.
Make your pilot card
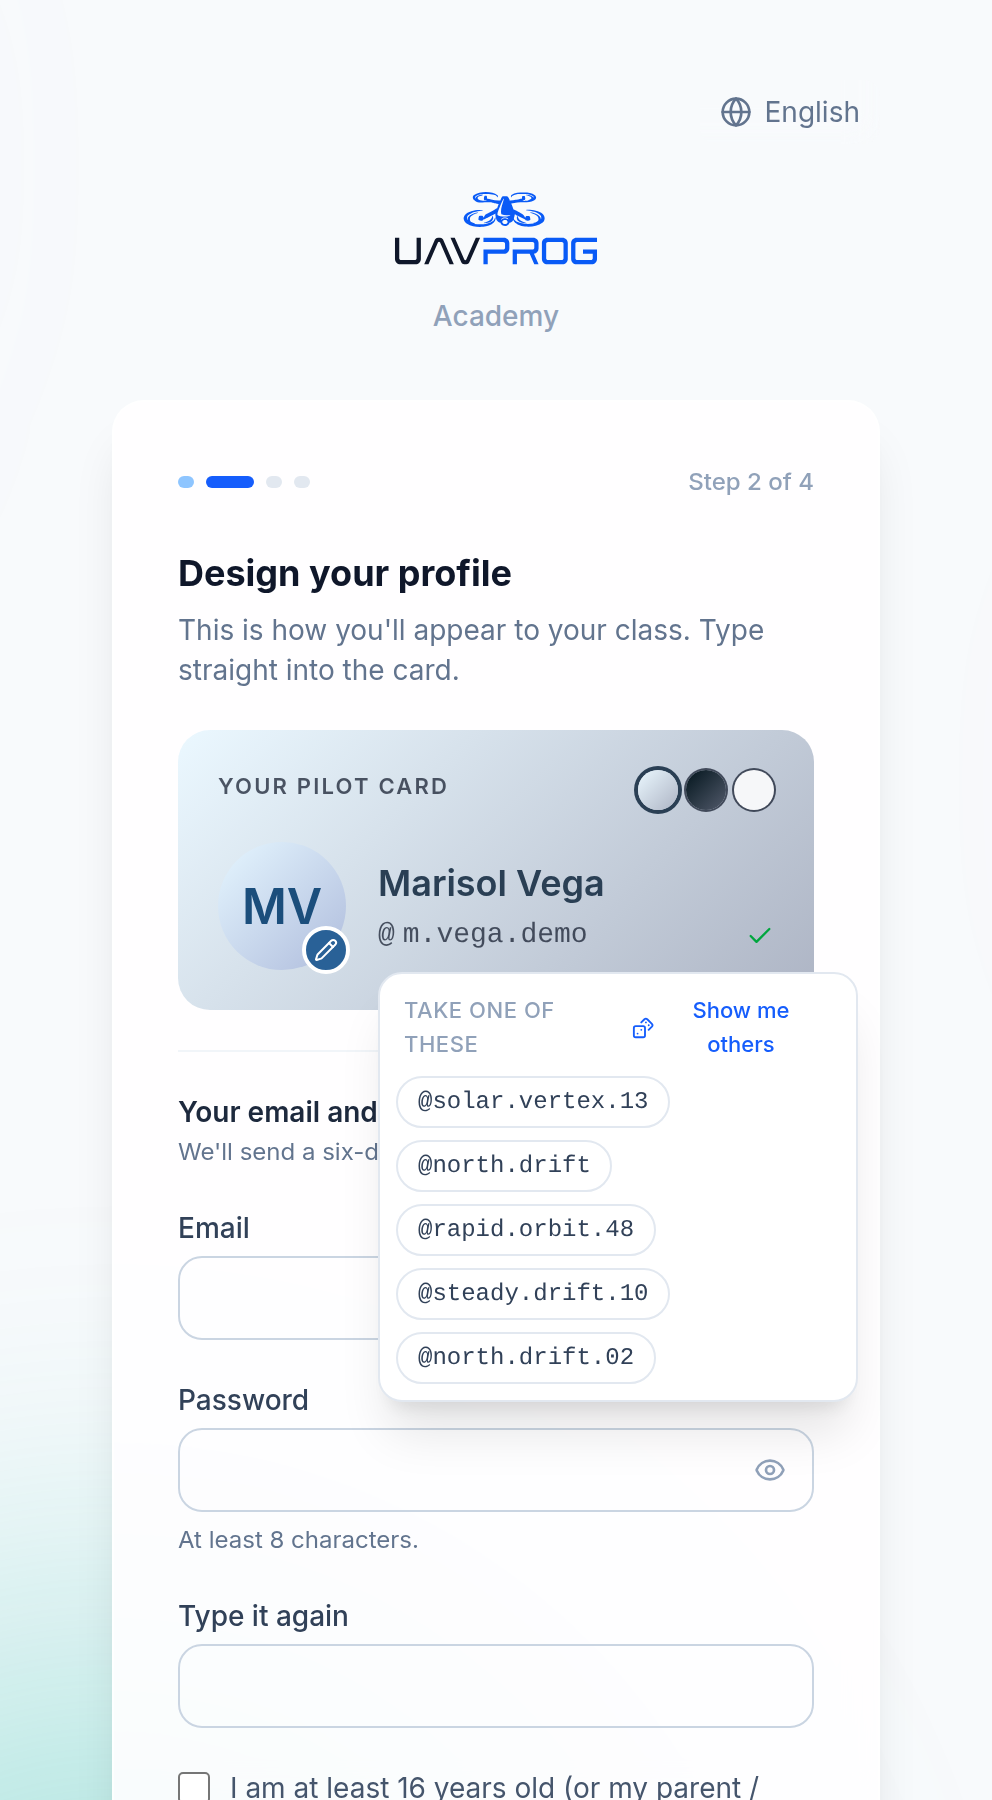
Your name, a callsign and a badge. The callsign is a second way to sign in; take one of the suggestions if nothing comes to mind.
Verify your email
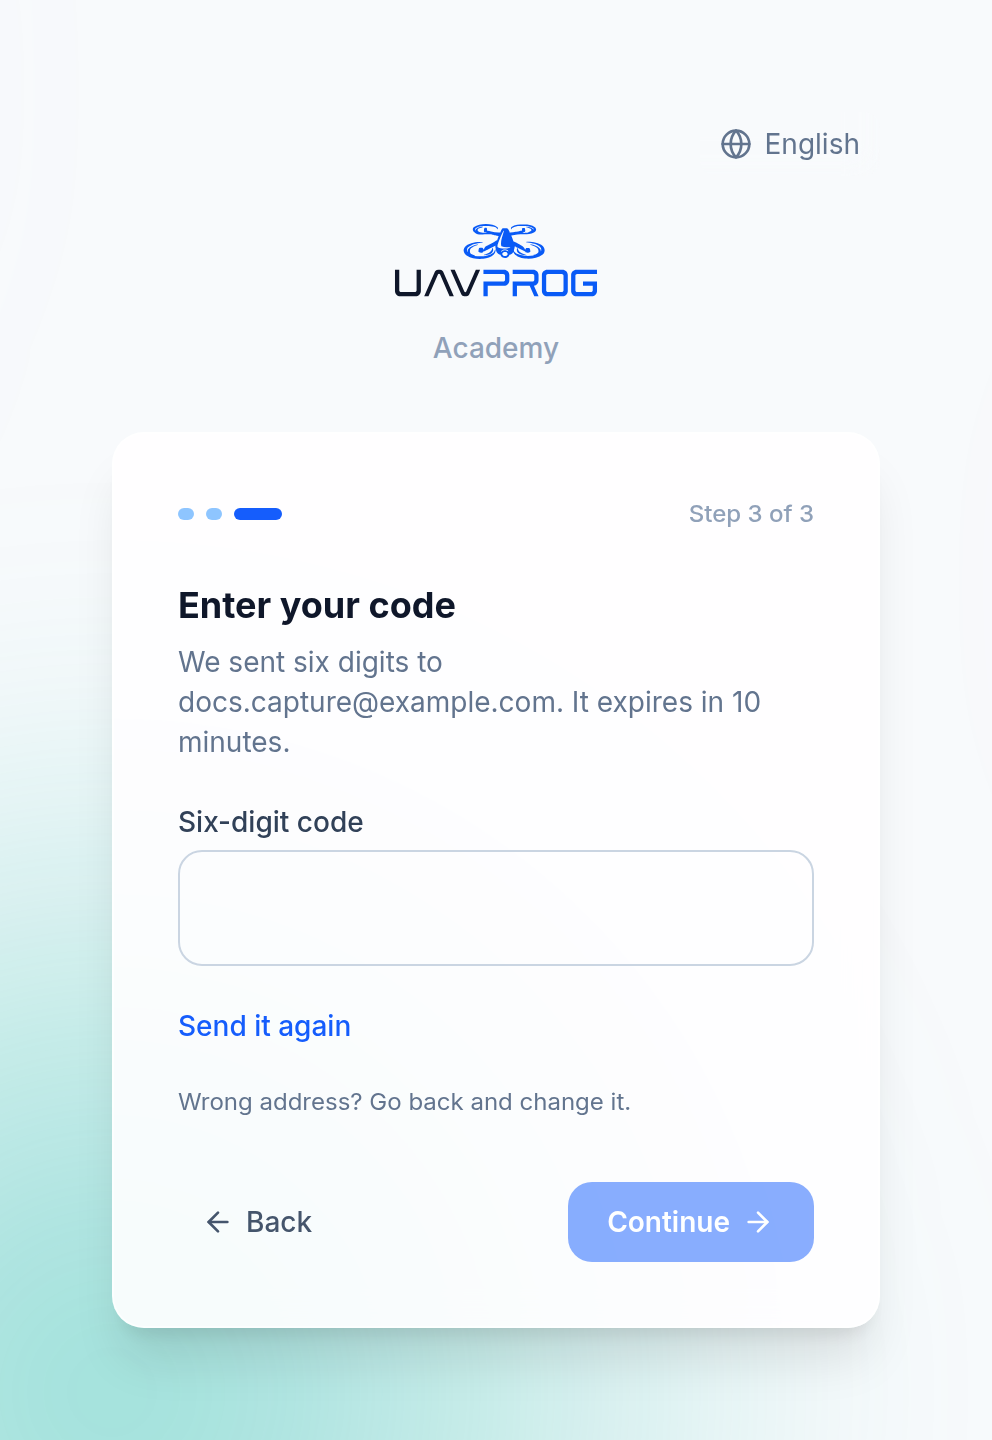
Six digits arrive by email. They expire in ten minutes; if yours does, press Send it again.
Say where you teach
School, your role there, country. Only the school name is required.
Then do the thing the screen asks: send us an email from your school address as well. There is a button that opens a pre-filled one. It is the single strongest evidence that you are who you say you are, and it usually turns a wait into a same-day approval.
Wait for approval
A teacher account is a decision, not a checkbox — an administrator grants it by hand. Until then your account works, but it works like a student’s.
Use the wait. Take a lesson yourself: fifteen minutes and you will know which mission your class will find hard.
A notification tells you the moment it is decided — the Activity bell in the top bar — and My Classes appears in the menu bar. Nothing to sign out of, nothing to refresh.
→ Getting a teacher account for the whole story.
Decide what kind of student account you want
Do this before you invite anyone. It is the hardest thing to undo later.
The question is simply whether every child can reliably read an email:
- No — hand out class codes. Nobody gives an address, nobody waits for a confirmation, and thirty students are on the platform in four minutes. You reset their passwords when they forget.
- Yes, and you want them to own their account — have them sign up themselves and then join your class with the same code. They keep their own password recovery, and you cannot reset it for them.
→ The three kinds of student account
Create a class
Press New Class
From My Classes, press New Class and give it a name you will still recognise in six months — “Grade 7A — Intro to Drones”, not “Class 1”.
Copy the invite code
The class is created with an eight-character code like
SKYLARK7. That is the entire joining mechanism.It cannot be changed later, so put it on the board rather than anywhere permanent.
Have the class join
New students: sign-up page → My teacher gave me a code. Students who already have an account: the Join Class tab. Same code either way. Nothing for you to approve — they appear on your roster.
Assign a course
Open the class and go to Assignments
Class → Assignments → New Assignment.
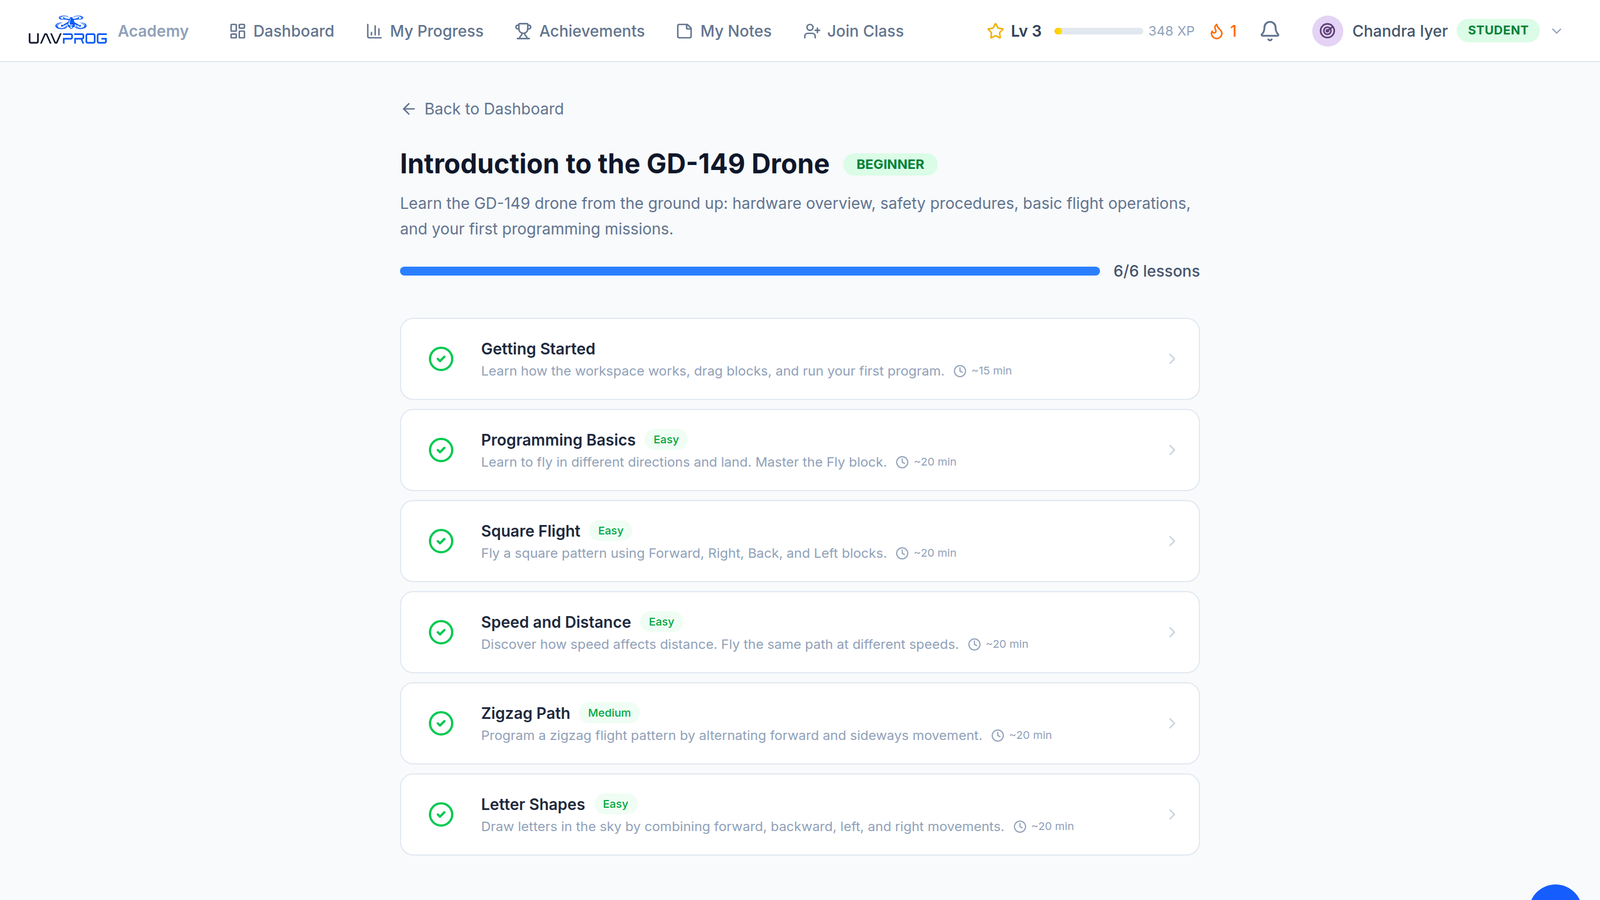
Pick a course, then one lesson
Choose a course, then pick a single lesson rather than “Entire course” for your first one. A dashboard reporting on one lesson is far easier to read than one reporting on a whole term.
Set a due date
Optional, and the most useful field on the form. Without one, three of the nine dashboard panels have nothing to measure against.
Leave Published ticked
The form tells you which you have chosen: published students see immediately, draft they never see. Drafts are also invisible to your dashboard.
Read what comes back
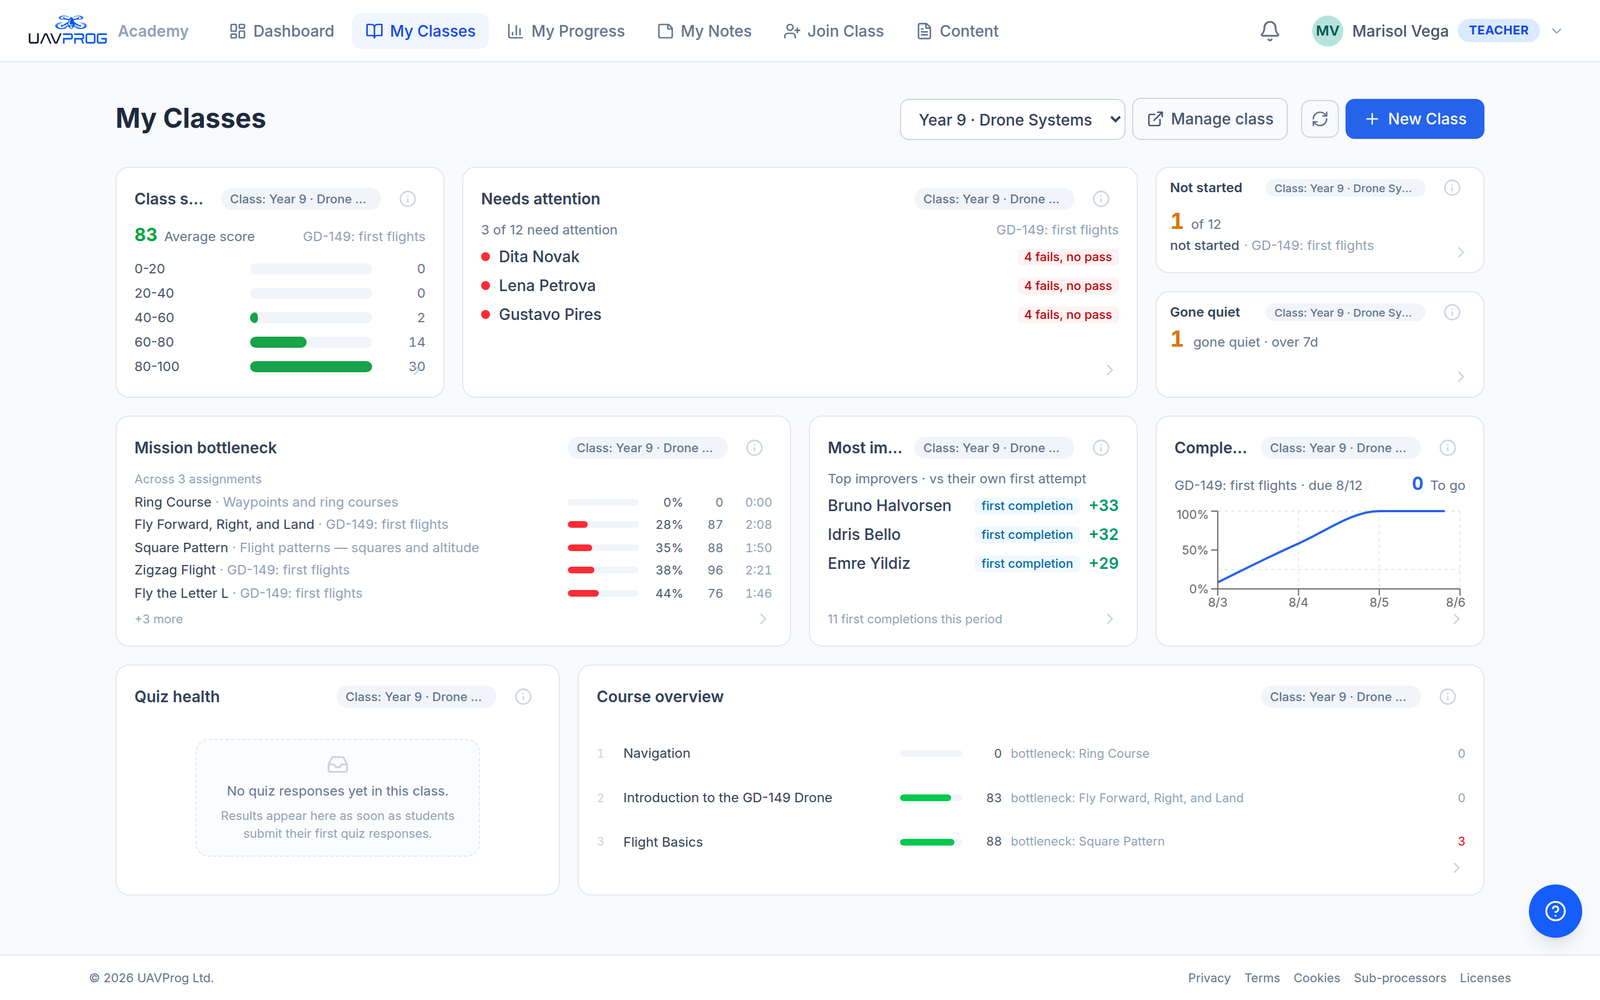
Go to My Classes. Within minutes of the first student finishing something, the panels fill in.
Start with the three that name people: Needs attention, Not started and Gone quiet. Open one with the small ⓘ in its corner — that is where the actual names and the useful buttons live, and most teachers take a month to find it.
Before the first lesson
A short checklist, from the page that covers this properly:
- Assignment published, not draft.
- Class code somewhere visible.
- You have flown the lesson yourself.
- Start your own session five minutes early. The day’s first launch wakes a machine and takes one to two minutes; every launch after that takes seconds. If that first one is yours, your class never notices.